
Hey there! I wanted to post a really simple, fast, and useful tutorial for you. I made this Thursday between the time I put the child to bed, and before she fell asleep. Super simple! Now here's the backstory and tutorial!

7/2010. Me at 24 in my awesome shirt from Target
So once upon a time before I became a mommy, I was thinner and wore cute tops like this. (Big ups to my sister-from-another-mister Ryne over at 1, 2, 3, 4, Kids, Bacon, Coffee, More. for this photo of outstanding quality and character!) I saved this top hoping to fit into it again once I've reached my weight-related goals, but when I pulled my Al Borland shirt at the beginning of summer I noticed a small-yet noticeable-hole right on the stomach. After weeping for a few moments, I tossed aside my old plaid friend and awaited inspiration.
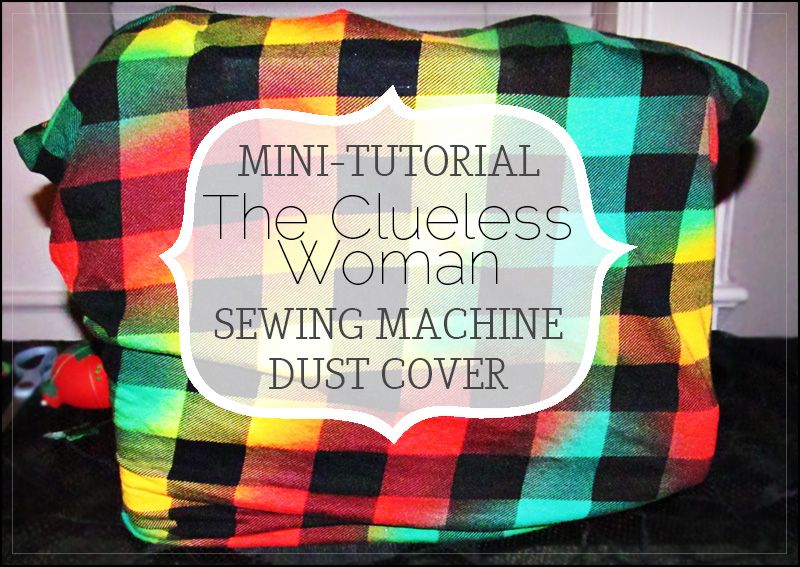
Being the mother to a toddler, a student, employed, and book lover, I really don't have the time or the space I need to use my sewing machine often. So after dusting off my sewing machine for the 70th time, it dawned on me. Use my funky fabric for a dust cover! It will allow me to peer over at the colorful plaid, and keep the dust off of my lovely, barely used machine. Let us begin.
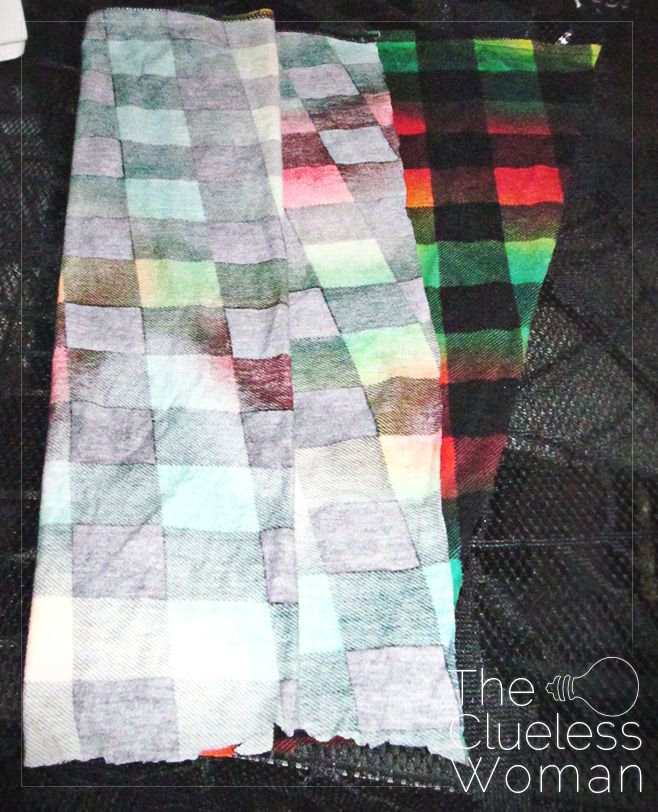
Step 1: I cut the bra top and elastic off, and place on the child to wear. (That’s not mandatory.) Because the top is an empire style top which flares out at the bottom, I didn’t need to neatly rip my seams apart. I cut the seams off and folded the two pieces- good side together/insides out-and making sure I had the needed length, cut the flared excess fabric away. I was left with 2 squares of fabric.
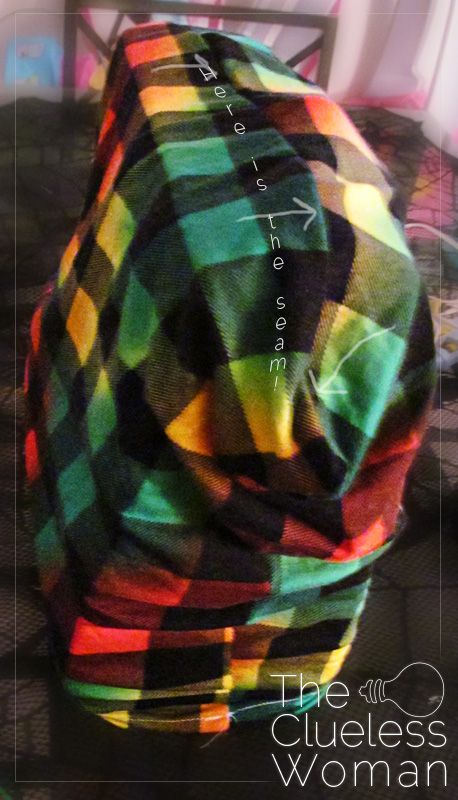
Step 2: (not photographed) pin. I didn’t care if the patchwork matched up-the patchier the better-so I didn’t line anything up. I pinned one side, sewed it using a straight stitch size 3, checked for any gaps. Pinned the second side, sewed it, and checked it. For the top, I threw it over the top of my machine before pinning, because I didn’t want excessive fabric drooping below the machine. I gathered the fabric, pinned one on each side, gathered the fabric on the edges, continued pinning on top of the gatherings, and then finally sewed the top.
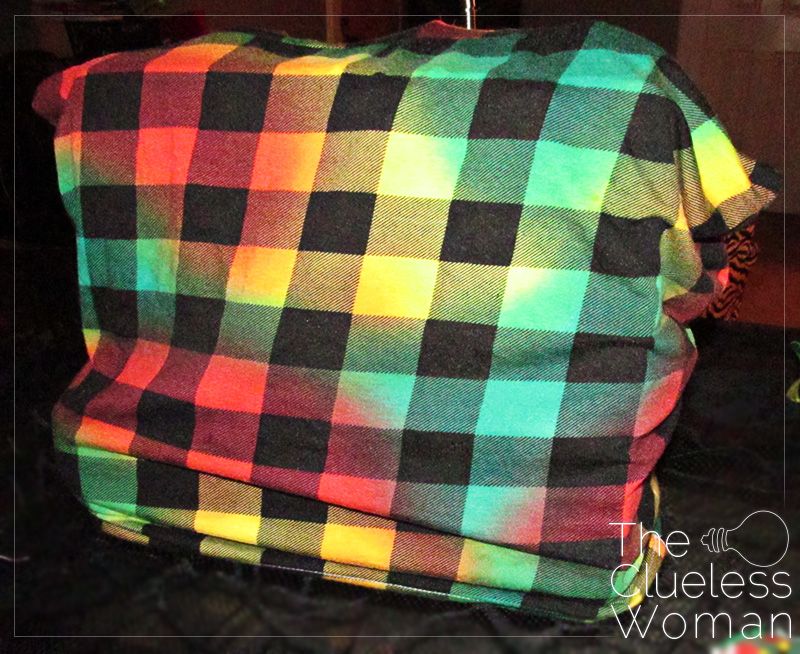
Step 3: Simple hem along the bottom. I saved this for last because if I accidentally made it too long, I could cut and hem to make it fit even better. Luckily all I had to do was help the raw edge.
It isn’t fantastic, but it fits and it works! It only took me about 15 minutes from start to finish.
It isn’t fantastic, but it fits and it works! It only took me about 15 minutes from start to finish.
Show me your dust covers-bought or made! Help me make better tutorials, comment below and tell me what I could have added to make this more helpful!
No comments:
Post a Comment